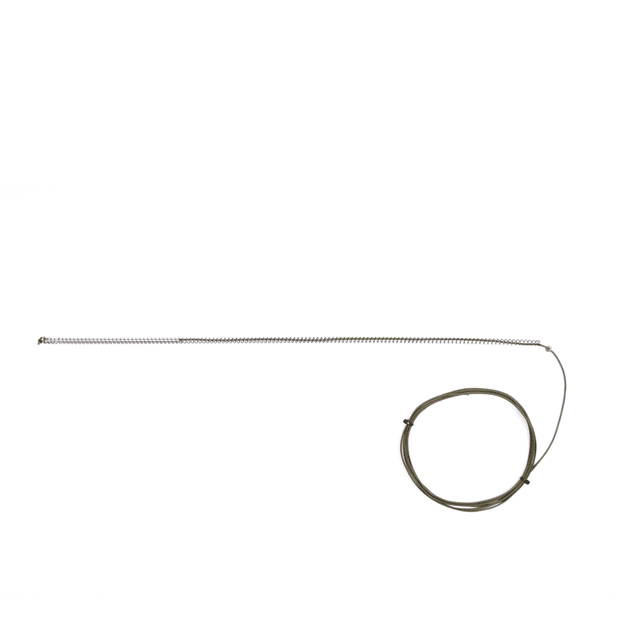
Chameleon Antenna CHA MIL WHIP CORD-SPRING
MPN: CHA MIL WHIP CORD-SPRING
$30.00
Out of Stock (On Order)
This is a deprecated website and therefore the shopping functionalities are disabled. Please use the new one instead: www.gpscentral.ca Dismiss
This is a deprecated website and therefore the shopping functionalities are disabled. Please use the new one instead: www.gpscentral.ca Dismiss
Skip to contentAll prices are in CDN dollars.
All prices are in CDN dollars.
$30.00
Out of Stock (On Order)
Replacement Cord-Spring for Mil Whip 2.0
| Brand | Chameleon Antenna |
|---|---|
| Manufacturer Part Number | CHA MIL WHIP CORD-SPRING |
All prices are in CDN dollars.